When a commercial ice machine stops making ice, check five things in order: power, water, the filter, the heat around the machine, and the state of the water system inside it. Those five cover most no-ice calls, and you can work through them in under half an hour without tools. What is left after that is refrigeration-side work, and the checklist below tells you how to recognize it.
How an ice machine fails differently than a fridge
An ice machine is a refrigeration system plus a water system, running a repeating cycle: fill with water, freeze it on an evaporator plate, then briefly heat the plate so the slab releases and drops to the bin. A refrigerator just has to stay cold. An ice machine has to hit the right temperatures, with the right water flow, on a timed sequence, over and over. That is why a machine can be cold to the touch, humming away, and still produce nothing: one step of the sequence is failing while everything else runs.
Step 1: Power, switches and safeties
- Confirm the machine has power: display lit, fans or pump audible. Check the breaker and, on machines plugged into a receptacle, the cord and outlet.
- Find the control switch. Many machines have been silently set to Off or Wash by a cleaning crew. Set it back to Ice.
- Check for a full-bin signal. If the bin sensor or thermostat is blocked by a stray cube, scale or slime, the machine believes the bin is full and politely waits. Clear and wipe the sensor.
- Look for an error code on the display or a blinking status light, and note it. It will shorten the technician's visit even if it means nothing to you.
Step 2: Follow the water
- Confirm the water supply valve behind or under the machine is open. Valves get closed for plumbing work and never reopened.
- Check the water filter. A clogged filter starves the machine slowly: cubes get smaller and cloudier for weeks, then production stops. If you cannot remember when the filter was last changed, that is probably your answer.
- Watch whether the trough or reservoir actually fills at the start of a cycle. No fill points to the inlet valve or the float; constant overflow points to a stuck float or drain problem.
- Listen for the circulation pump. During a freeze cycle you should hear water moving over the plate. A dead pump means thin or no ice.
Step 3: Check the heat around the machine
Air-cooled ice machines are rated for kitchen conditions, not for closets. Production falls as the air and water entering the machine get warmer, and in a Florida summer a machine shoved in an unventilated alcove or next to the fryer line can lose a large share of its daily output without a single broken part. Check that the intake and discharge louvers have clearance, feel whether the room is noticeably hot, and look at the condenser coil. If the fins are furred with dust and grease, the machine cannot shed heat, and both output and component life suffer. Many machines will shut down entirely on a high-pressure safety when the condenser is filthy.
Step 4: Look inside at scale and slime
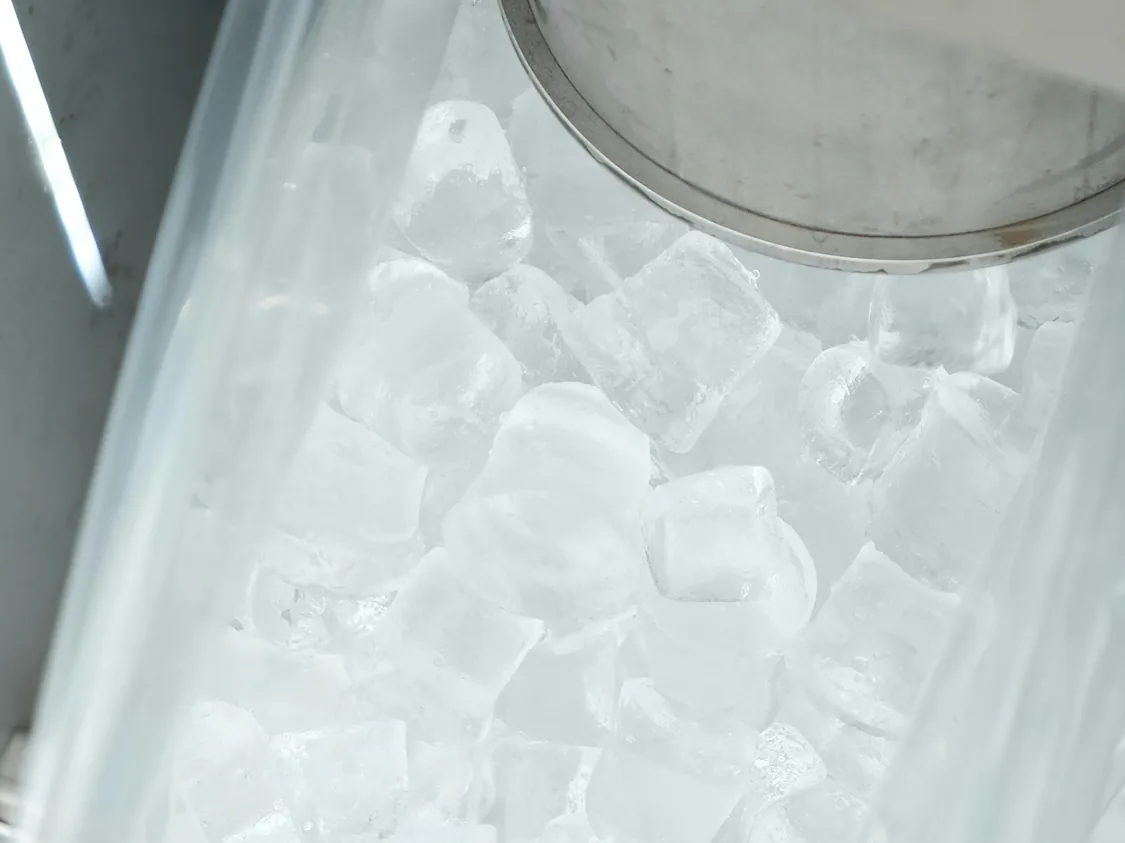
Open the front panel and look at the water system: the trough, the distribution tube over the evaporator plate, the curtain. White crusty scale narrows water passages and insulates the plate, so cubes come out small, cloudy or welded into a slab that cannot release. Pink or dark slime means the water system needs a full cleaning and sanitizing, which is both a production problem and a health-code problem. A machine choked with scale can limp through shrinking harvests for months before it finally stops, so what looks like a sudden failure often is not.
Step 5: Watch one full cycle
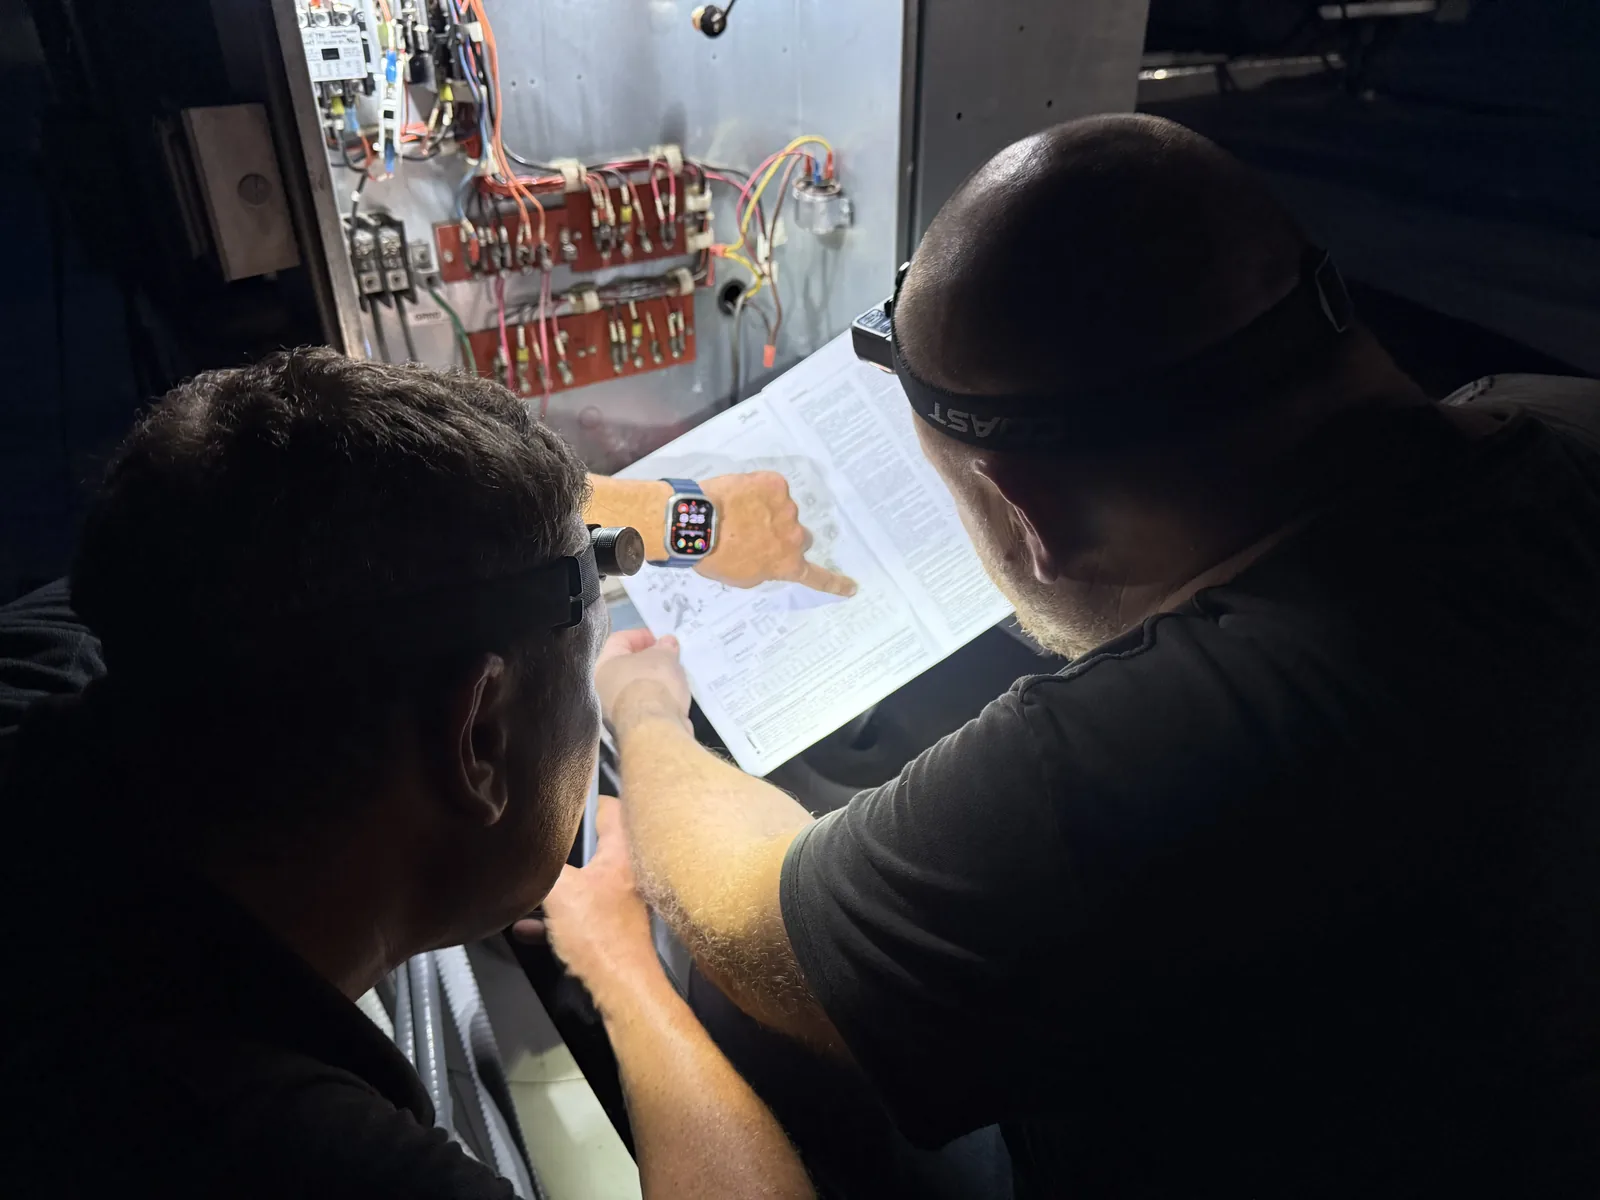
If everything above checks out, stand in front of the machine for one cycle, usually 15 to 30 minutes, and note where it goes wrong. Water fills and circulates but ice never forms: refrigeration-side problem. A slab freezes but never drops: harvest problem, typically the hot gas valve or a harvest sensor. The machine starts, runs briefly and shuts down: a safety is tripping. What you observe is exactly the information that turns a two-hour diagnostic visit into a shorter one.
Slow production counts as a warning
A machine does not have to be dead to be failing. If the bin that used to be full by opening is now half full, or staff are buying bags of ice to get through a weekend, the machine is already telling you something: a clogging filter, a scaling water system, a dirty condenser or a slow refrigerant leak. Every one of those is cheaper to fix at the slow-production stage than at the no-ice stage, and in a Florida summer the gap between the two can be a single hot week.
Faults that need a technician
- Low refrigerant charge or a leak: long freeze cycles, thin ice at the plate edges, eventually no ice.
- A failed hot gas valve: freeze works, harvest never completes.
- Failed thermistors or a faulty control board: cycles start and abort in unpredictable patterns.
- Compressor or fan motor failures: the machine is silent, or loud in new ways.
All of these involve sealed-system work, live electrical diagnosis or calibrated controls, and none are worth improvising on a machine your bar or kitchen depends on.
When to call, and who answers
If the checklist did not restart production, or the machine is cycling but the bin stays empty, book a commercial ice machine repair visit. Doctor Fridge services Manitowoc, Hoshizaki, Scotsman, Ice-O-Matic and Koolaire machines across Sarasota, Manatee and Charlotte counties, with same-day service available and ice machine repair in Venice and the surrounding cities. The commercial service call is $150, the diagnosis is honest, and the repair is quoted before any work begins. Florida license CAC1815692.