A new air conditioner only runs as well as the day it was put in. Get the sizing, the refrigerant charge and the airflow right, and the system cools quietly for years. Get any of them wrong, and you buy a slow stream of repair calls that no amount of servicing fully cures. A large share of the residential AC problems we are called out to fix trace straight back to how the equipment was installed. This guide covers what a correct installation actually involves, so that if you are replacing a system you know what you are paying for, and why fixing the unit you already have is often the smarter spend.
Repair first, replace second
Before any of this matters, it is worth saying plainly: most systems that quit do not need replacing. A dead capacitor, a seized fan motor or a clogged drain is a repair, not a reason to buy a new unit. We look at AC repair first and quote replacement only when the numbers stop making sense, which is the exception rather than the default. Installation matters precisely because, when replacement genuinely is the right call, a clean install is what keeps the new system out of the repair log.
Sizing is the number everything else depends on
The capacity of an air conditioner is measured in tons, and picking the right number is the single most important decision in an install. It should come from a load calculation that accounts for the square footage, the ceiling height, the windows and their orientation, the insulation and the local design temperature. It should not come from a rule of thumb or from simply matching whatever was there before, because the old unit may have been wrong too.
In Southwest Florida the humidity is half the comfort problem, and that is where sizing bites hardest. An oversized unit cools the air to the thermostat setpoint fast, shuts off, and never runs long enough to pull real moisture out of the house. The result is a home that reads 74 degrees and still feels clammy, with the system short cycling, starting and stopping every few minutes. Those repeated starts are hard on the compressor and the contactor, so an oversized system is both less comfortable and quicker to fail.
Undersizing is the opposite failure. A unit that is too small runs almost continuously, drives up the power bill, and still cannot hold temperature on the hottest afternoons. Correct sizing lands in the middle: long, steady run times that both cool and dehumidify.
What a correct installation includes
A professional residential changeout is a sequence of specific steps, each of which protects the equipment. Skipping them is where cheap installs save money and buy you repairs later.
- A load calculation to size the system, not a guess based on the old one.
- A matched coil and condenser, so the indoor and outdoor halves are designed to work together.
- A clean line set, either new or properly flushed, with a fresh filter drier installed.
- A deep vacuum on the lines before charging, to pull out moisture and air. Moisture left inside turns into acid and kills compressors.
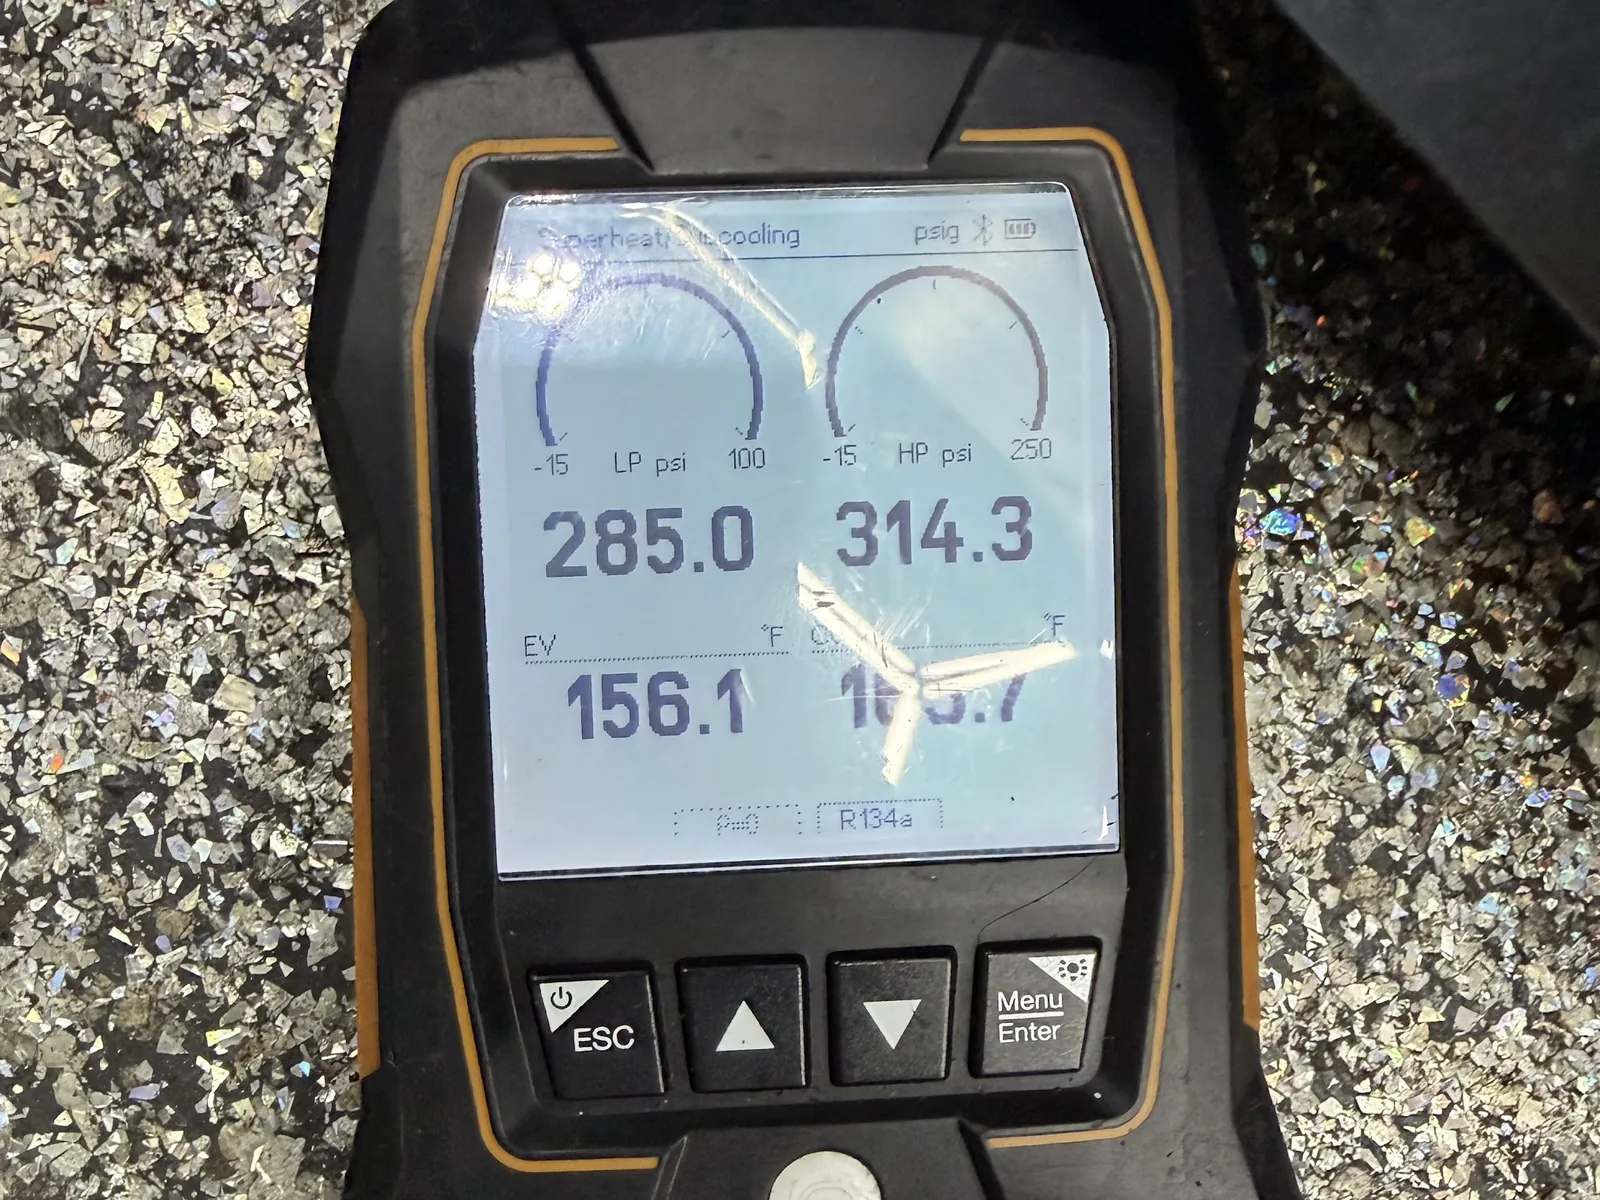
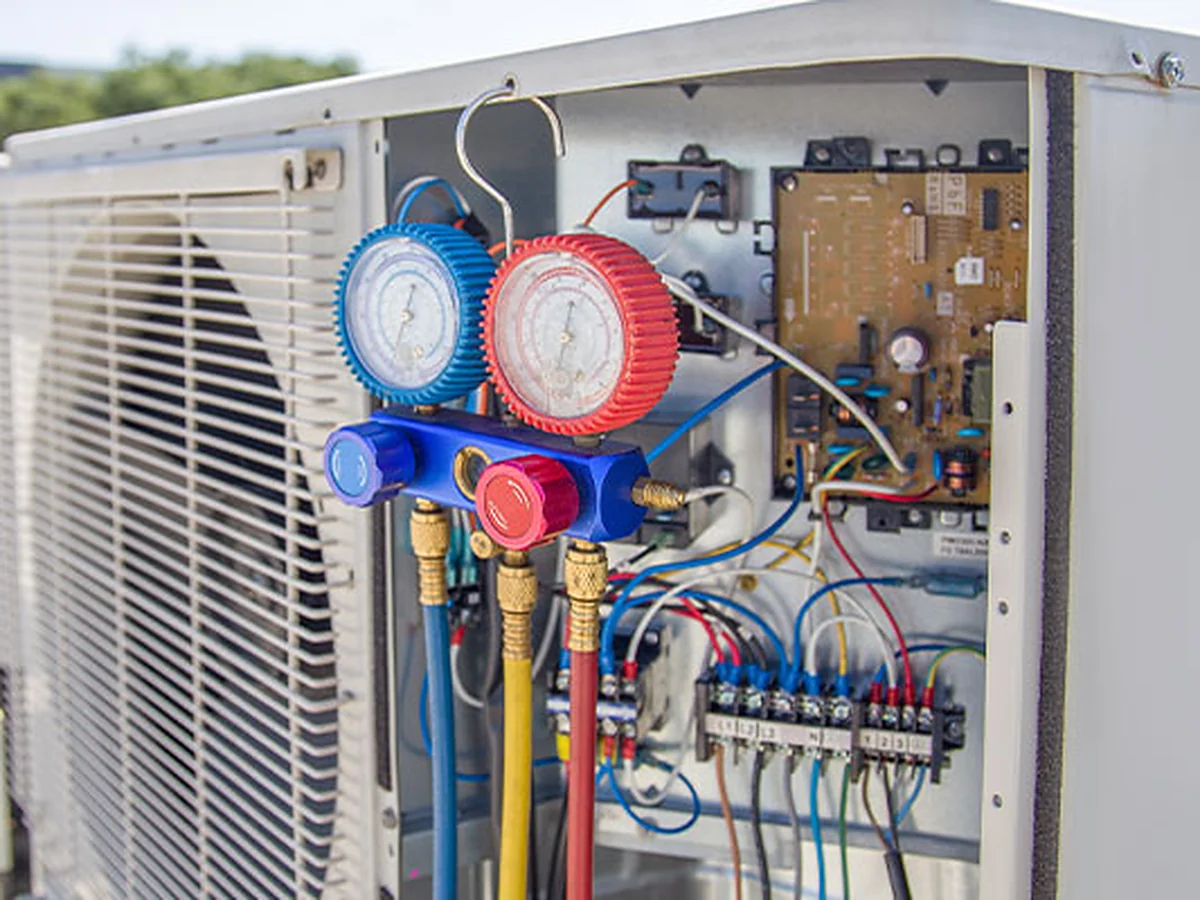
- A weighed-in refrigerant charge to the manufacturer spec, verified by superheat and subcooling readings rather than eyeballed.
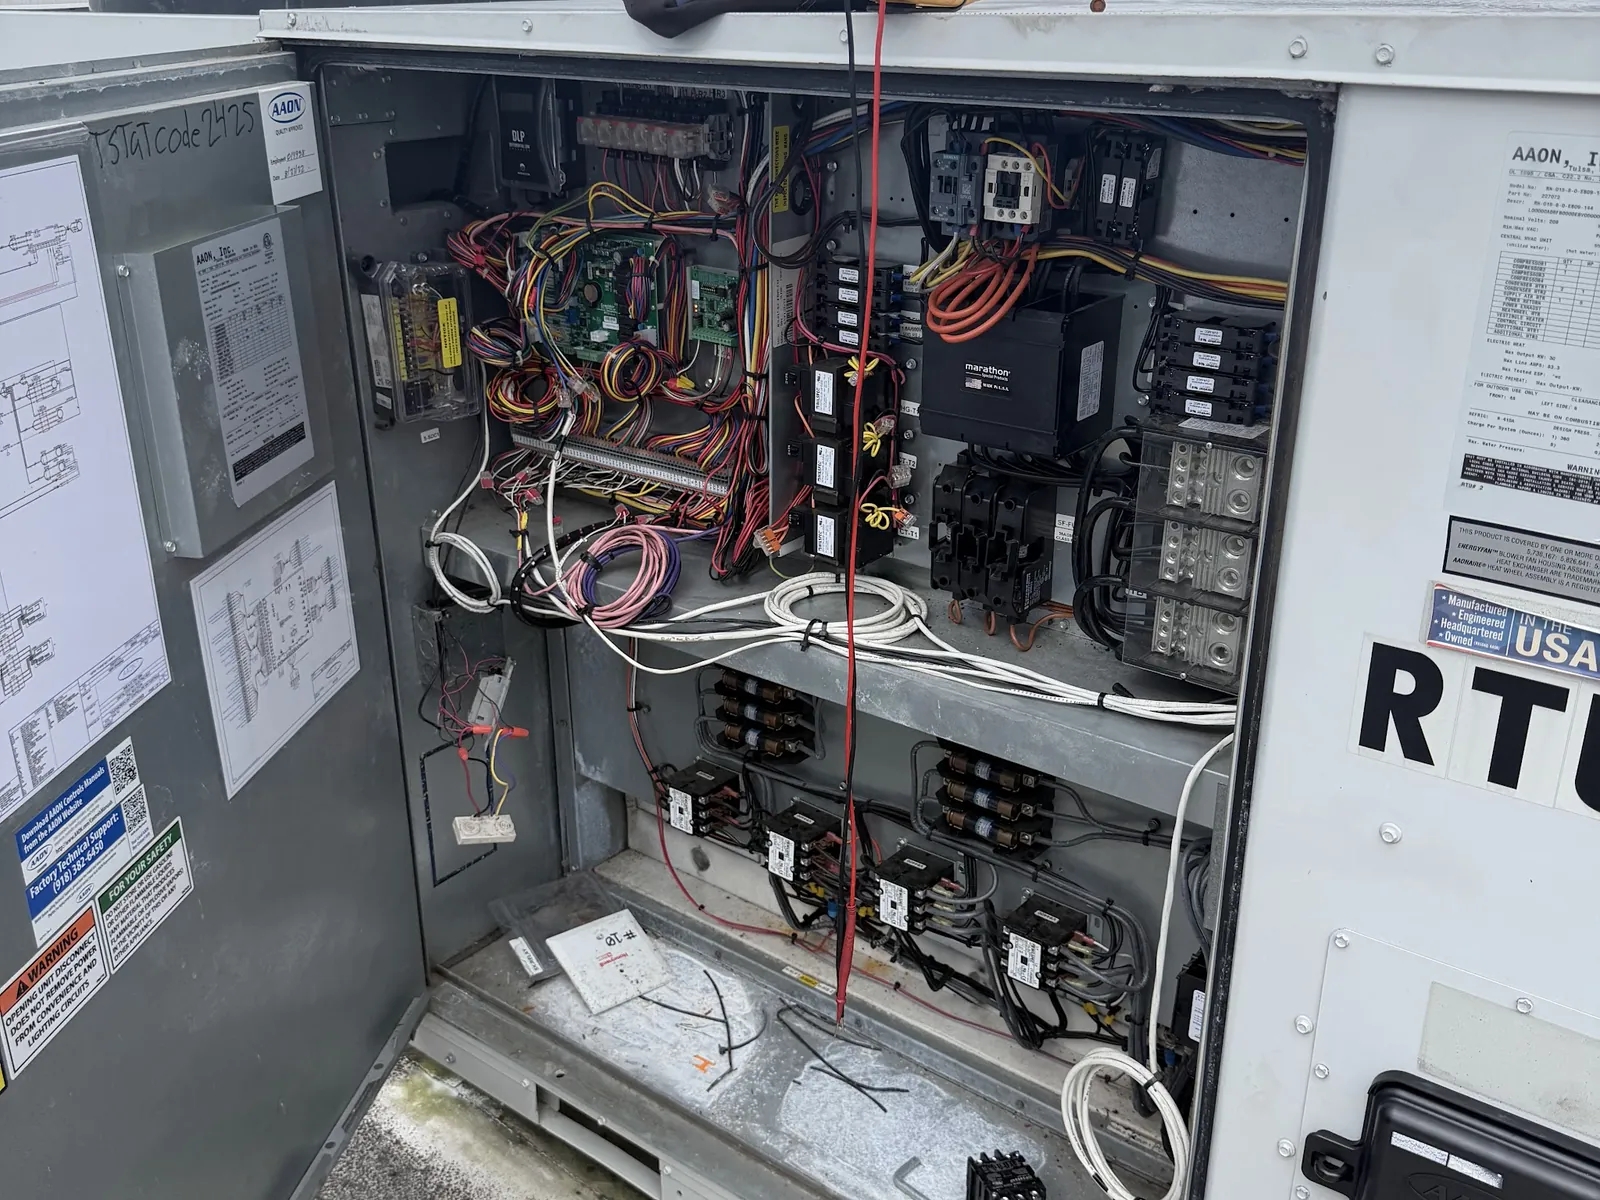
- An airflow and duct check, including static pressure, because a perfect unit on undersized or leaky ducts will still freeze and underperform.
- A condensate drain and a safety float switch, so a future clog shuts the system off instead of flooding a ceiling.
- A permit and an inspection, and a documented set of startup readings handed to you at the end.
Why a bad install shows up as repairs
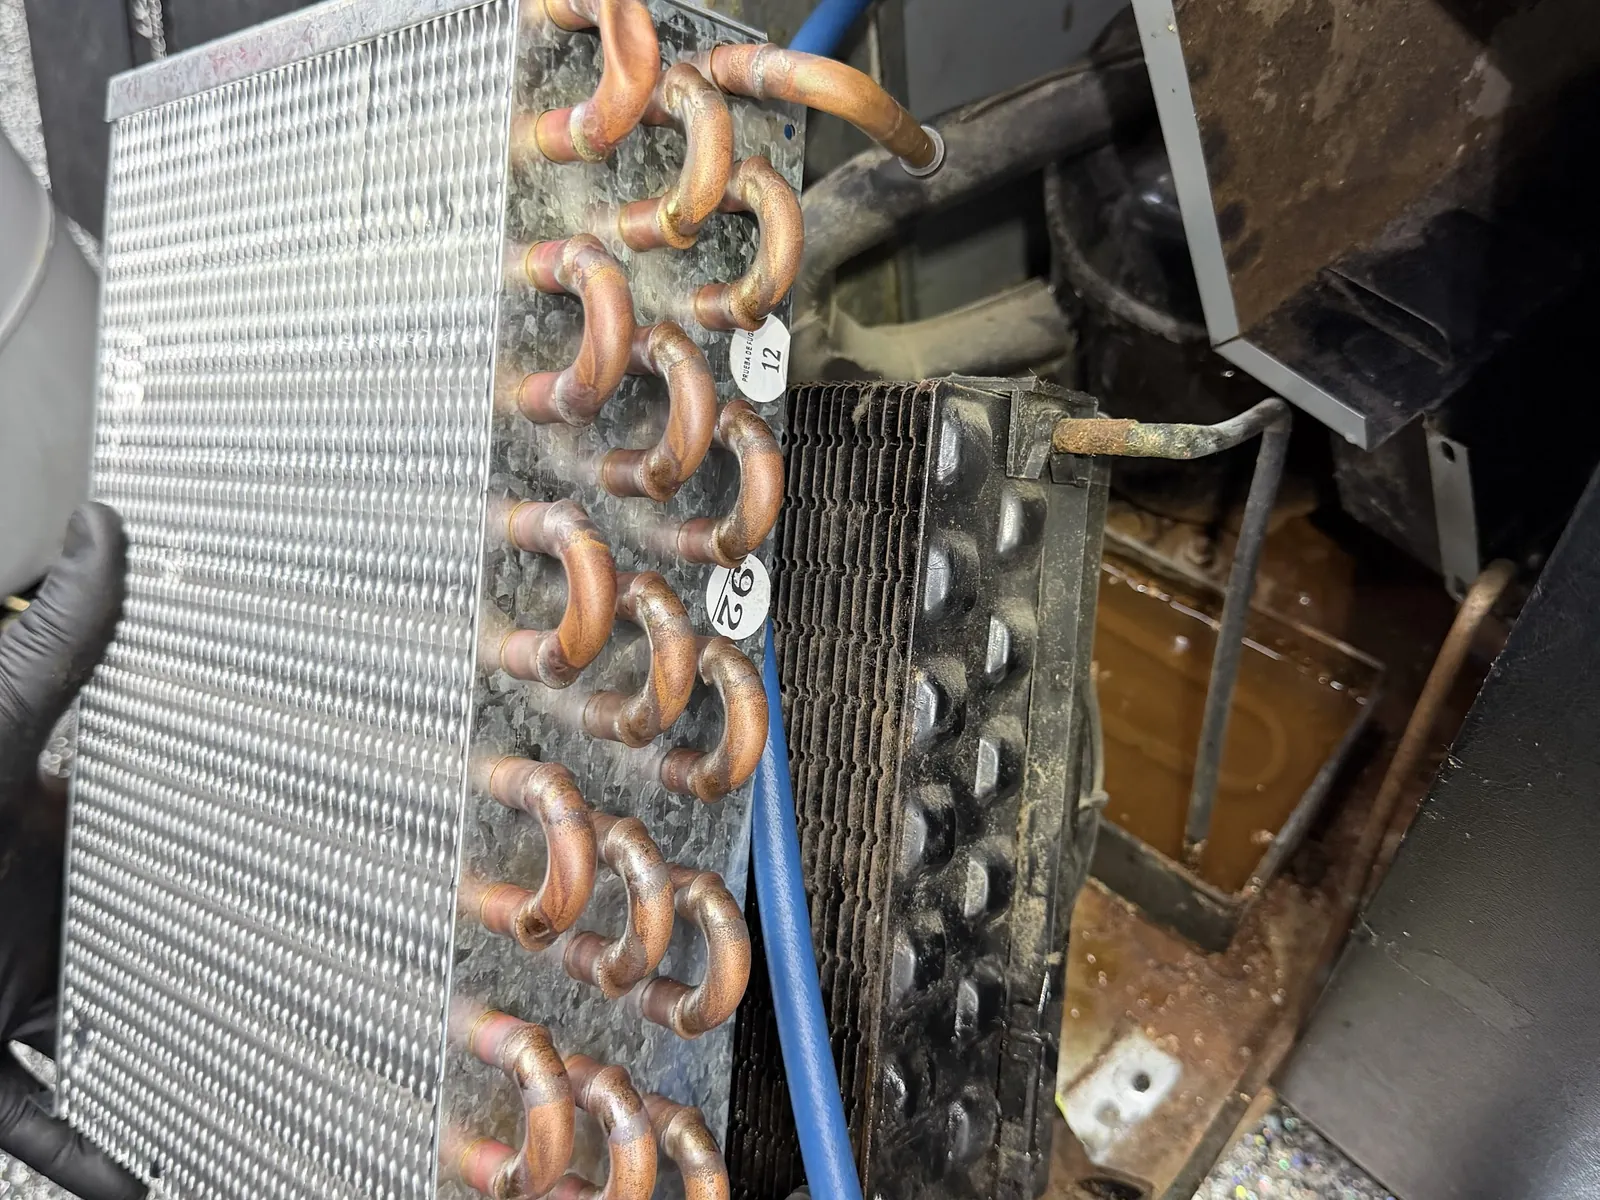
Almost every shortcut in that list has a predictable failure attached to it. Skip the vacuum and moisture circulates with the refrigerant, forming acids that break down the compressor windings over a year or two. Overcharge or undercharge the system and you get high head pressures, poor cooling or a coil that ices over. Leave the ductwork undersized or leaking and the evaporator starves for air and freezes, which is one of the most common calls we run on systems that are only a few years old.
None of that is a manufacturing defect. It is installed-in failure, and it is why a quote that looks cheaper on day one often is not. If you want to understand what a tech is checking when one of these faults surfaces, our guide to common AC faults walks through them.
Permits, license and warranty
Florida requires a licensed HVAC contractor and a pulled permit for an AC changeout, and that is not red tape for its own sake. The permit triggers an inspection, and the license means the refrigerant and electrical work was done by someone trained to handle it. It also protects your manufacturer warranty: most equipment warranties require professional installation and timely registration, and an unpermitted install by an unlicensed installer can void the coverage you paid for.
When a new system beats another repair
Installation only enters the picture once repair no longer makes sense, and that line is clearer than most people expect. A system past roughly 15 years, a unit still running phased-out R-22 refrigerant, a failed compressor on an aging condenser, or a pattern of repeated expensive repairs all push toward replacement. In those cases a right-sized, cleanly installed system pays for itself in lower bills and far fewer service calls. Short of that, the honest answer is almost always to fix what you have.
When to call
If your current system is struggling, start with a diagnosis, not a sales pitch. Doctor Fridge handles residential AC repair and, when it is truly warranted, AC replacement across Sarasota, Manatee and Charlotte counties, including same-day service for homes in Venice and Sarasota. The residential service call is $120, the repair or replacement is quoted before any work begins, and the work is backed by a parts and labor warranty. Florida license CAC1815692.